CASE STUDY
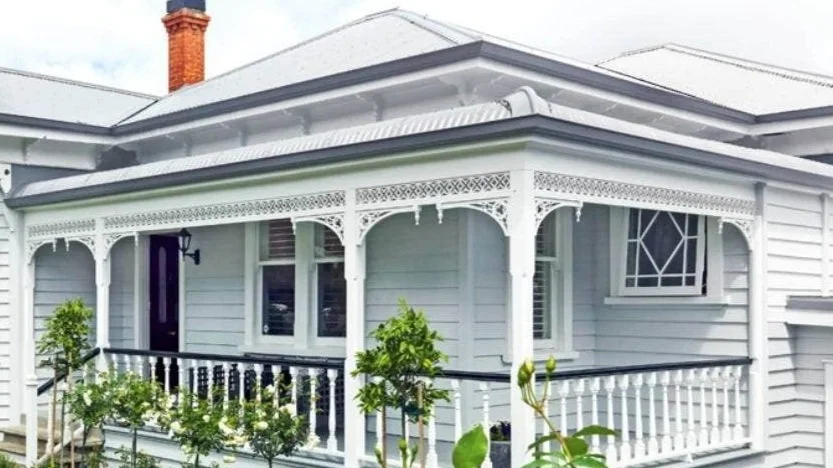
Remediation and restoration of City fringe villa
Project overview
Close collaboration with a passionate and renovation-savvy owner to remediate and renovate her 19th century villa, before and after the first COVID-19 lockdown.
S.C.Harris Builders Ltd were engaged to carry out earthquake remediation and a full renovation. The client had researched, was very savvy and had a clear vision of what she wanted. Her vision was to modernise, but keep and add character features true to the era. The site location was on a street originally built for doctors, with wide streets for cart and carriage to have easy access.
Vital stats
Our involvement included project management, remediation, relevelling, full interior renovation and restoration work, working alongside with Architect, Engineers and Council to adjust house layout and consent planning.
BUDGET
$400,000*
SIZE
90m2, single level
PROPERTY BUILT
early 1900s
BUILD TIME
4 Months
Total end cost including contractors.
Project details
Consents
We engaged an Architect and Engineer we have worked with on past projects to do the planning. We worked alongside the client, Architect and Engineer to work out room layout, window positions, sections of load bearing walls that required removal to achieve an open plan modern layout.
Engagement of Subcontractors and Project Management
We supplied and worked alongside our selected preferred subcontractors, such as Plumbers, Electricians, Plasterer etc. The house needed to be fully replumbed, rewired and replastered throughout.
Site Establishment
Erection of temporary fencing, supply of amenities (portaloo), disconnection of house wiring and connection of site power and water, disconnection of drains/sewerage pipes and water pipes. Delivery of site skip. Installation of health and safety signage and procedures.
Releveling
Had an initial meeting with the client and Smart Lift to work through what was required to establish the site and the building preparation required before they started the structural repairs/lifting of the foundation. The original ring foundations concrete was mixed by hand, which is common for construction in this era, which meant the structural integrity was weak and unable to be lifted without being damaged. The house was releveled and a new ring foundation was formed below the existing. Internal piles were replaced or repacked to meet the NZ Building Code.
Demolition
The client did the bulk of demolition over the Christmas break, and we picked up the remaining demolition required. This included stripping all linings off the floors, walls and ceilings, exposing all framing members.
Building Work
We started from the sub floor framing, 90% of this framing required replacing due to rot and borer damage. We straightened all the floor framing and relined with chipboard sheet flooring. Some modifications of the subfloor was required in the bathroom area to allow for the level entry shower base. Wall framing, removed a load bearing wall in the lounge room/dining area of the house to create open plan living. This required a steel engineered beam to take the load of the roof and also required an additional pile to be installed to bear this load. We also added two additional timber French doors to this area, which required two new lintels to be installed. A new round window was added in the bathroom that required another lintel. When the walls linings were removed, due to the house originally having lath and plaster linings, the wall framing was not straight and required the walls in the entire house to be re-straightened, before plasterboard linings could be installed. The entire house was relined with new plasterboard on the walls and ceilings. 50% of the house was re-cladded with bevel back weatherboards, including new facings and scribers around windows and doors to match preexisting.
Interior Finishing
Complete house was re-skirted and re-architraved in colonial style trim work to retain the era of the house. Colonial plaster cornice and plaster roses were installed throughout. Hallway and bathroom were lined 1.2 metres high with v-groove paneling and dado rail. Winckelman tiles were hand laid on the bathroom floor piece by piece, in a complex pattern. The rest of the houses flooring was 180 x 20mm farmhouse oak, tongue and groove, which was distressed and made to give the illusion that it was old.
Fitout
The kitchen was sourced by the client, which was farmhouse style to give a classic look. Fitted with an engineered stone benchtop. The bathroom fittings and fixtures were all true to the era of the house.
“We needed quite a bit of work done on our character villa. Sam was approachable, easy to work with, on the ball with the multiple subcontractors needed, and got us a great quality result. He was also organised and accurate with quotes, handling variations and producing a detailed and organised invoice with work breakdown.”
— Client Review (James Gunn)
Materials used

Colonial style trim and skirting
Was used to retain the era and old feel of the house. It was custom run to match the pre-existing colonial Rimu skirting.

Farmhouse Oak Flooring
In the colonial days all timber flooring was rough sawn cut, with distressed saw marks, so to achieve a distressed vintage look, the client selected farmhouse oak flooring to achieve this look with a modern product.

Custom made timber window and door joinery
This was selected to match the pre-existing exterior joinery of the house to keep true to the era and style of the house, these units were required to be double glazed to meet current New Zealand Building Code.
Biggest challenges for the project
COVID-19
This held everything up by a month as we were unable to be on site during level 4 lockdown. Thankfully the house was at interior finishing stage, so was watertight.
How we solved it: Covid-19 lockdown couldn’t be avoided, but during this time we kept the client updated and prepared plans for when we could return to site and to ensure that everyone on site was safe – this included limiting numbers of subcontractors on site at any given time etc. Even though we lost a month, the client was patient and we delivered the project to schedule.
Curved, custom-made window flashings
This was a challenge because windows and flashings are usually straight, and this window required the flashing to be curved and custom made for a round window. This also proved a challenge to weatherboard.
How we solved it: We made a plywood template, giving us the circumference of the window, that was given to our flashing manufacturer who bent the flashing to the required shape. The weatherboards had to be individually scribed to the window circumference.
Due to a privacy request from the client we are unable to post any images of the renovation online. Contact us to find out more, or view the gallery of other renovation work on the Renovations page.