CASE STUDY
Tiled Bathroom Renovation
Project overview
Full, high spec bathroom renovation for a double storey architecturally designed 1990s home - including the removal of a structural wall to create more space.
The client approached us to upgrade her bathroom with new floor and wall coverings, new tapware fittings and fixtures, a free-standing bath, toilet, vanity and custom tiled shower. The client had already selected tiles and fixtures and had a good idea of what she wanted interior style-wise, the complexity came with a desire for more space which involved the removal of a structural wall between the ensuite and wardrobe area.
Vital stats
Our involvement included demolition and project management, including engaging subcontractors, relining walls, ceiling and a section of flooring.
BUDGET
$30,000* (including fitting and fixtures)
SIZE
6m2 (Bathroom floor)
PROPERTY BUILT
Late 1990s
RENOVATION TIME
4 Weeks
Total end cost including contractors.
Project details
Pricing and planning
We arranged a site meeting and measure to discuss the project. Engaged an Engineer to look over what would be required to relocate the structural wall between the ensuite and wardrobe. Client provided all original council plans & information from the property file, Engineer provided a set of drawings and specification for the newly relocated ensuite wall. Additional framing & bracing elements were required to bring the new wall up to current New Zealand Building Code (NZBC).
Building consent
Engineer plans & specifications were submitted to the Christchurch City Council (CCC) to obtain a building consent exemption for minor building works/alteration. This is recorded on the property file/LIM and allows the CCC to have a record of structural work that has been carried out at the property. All Contractor’s licence numbers are also obtained to ensure the structural work has been carried out by a licenced contractor and to current NZBC.
Demolition
All interior plasterboard linings were removed from walls & ceiling, along with tiled floor coverings.
Framing
The new structural wall was framed as per Engineer’s specification, along with walls & ceiling being straightened and additional blocking was installed for new plumbing & electrical fixtures where required.
Plumbing and Electrical
Plumbing was carried out to suit new bathroom fixtures & layout, including all pipe work being replaced in walls and waste pipes replaced/ relocated. Wiring was replaced/ relocated to suit new layout and new fitting & fixtures.
Insulation and Interior Linings
All exterior walls where reinsulated including ensuite party wall with bedroom to reduce noise transfer between rooms. Installation of interior linings to wall & ceiling in aqualine gib plasterboard. Sections of walls were also required to be lined with braceline Gib plasterboard to obtain adequate bracing to the area and was specified in the Engineers plans as a requirement for relocating the ensuite wardrobe party wall.
Tiling and Waterproofing
A hebel shower base was installed. Hebel blocks formed the shower hob, the shower base was screeded to create a fall to the drain. After the shower base had dried (approximately 24 hours depending on conditions) a waterproof membrane was installed on shower base & walls, this ensured the shower area was waterproofed correctly, so no water ingress can occur and cause damage to lining and framing members. After this membrane was dry, tiles were installed and grouted to shower area ensuite/bathroom floor and walls.
Shower Screen Final Fit-off
A custom frameless shower screen was measured, made and then installed on site. Tapware, toilet, vanity, mirrors hooks and towel rails were fitted off to manufactures specifications and required the Electrician, Plumber and Builder to install.
“The best bathroom renovation we have ever experienced - very professional and courteous. Sam has surrounded himself with top hand-picked trades people and all work completed in the time frame stated. We are so happy - a full recommendation from us.”
— Client Review (Trevor Green)
Materials used
Hebel shower base hob
Used as it is strong, easy to cut/shape and waterproofing sealant adheres well to it. This product forms the shower upstand and allows the tiler to form/screed the shower base to any required size and fall.
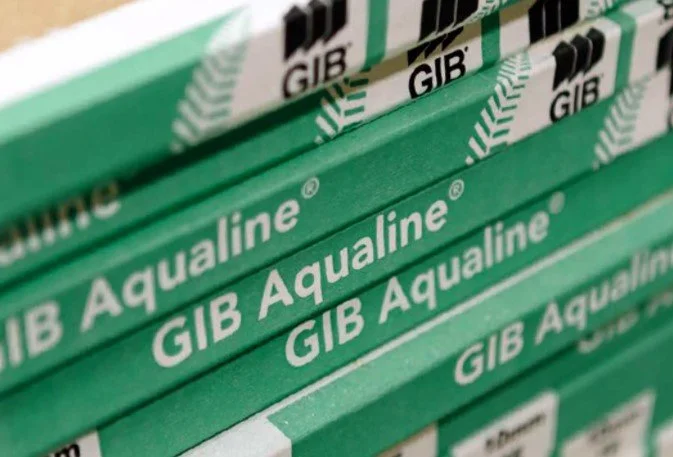
GIB Aqualine plasterboard
Used as it features a water-resistant core to help prevent steam and moisture penetration. This product is required in wet areas to meet the New Zealand Building Code (NZBC).
GIB Braceline plasterboard
Provided bracing to the required area, this was specified by the Engineer. It has a high-density core, increasing strength and stiffness, and providing required bracing properties.
Biggest challenges for the project
Multiple contractors required in a small space
All bathroom renovations require good planning & project management, as there are a number of contractors working in a small area. Scheduling trades so there is minimal down time can be a challenge. If there is a hold up with a trade or fixture/fitting, this can cause delays for the next trade etc.
How we solved it: Having all plumbing and electrical fitting and fixtures on site before starting the project. Checking they were correct and would work in the space. Pre booking of subcontractors at the start of the job and keeping them to schedule. Keeping subcontractors informed of the stage the project is at and giving them as much notice as possible if there are any changes in the schedule. Communication with client and subcontractors is key to having the project finished on schedule and to a high standard.
Anxious Client
Client had had bad experiences with contractors in the past, so was anxious about the job and working with us.
How we solved it: Made sure every stage was communicated and explained and checked in at multiple points of the process to check she was happy, to build trust.
See more bathroom renovation work on the Renovations page.


